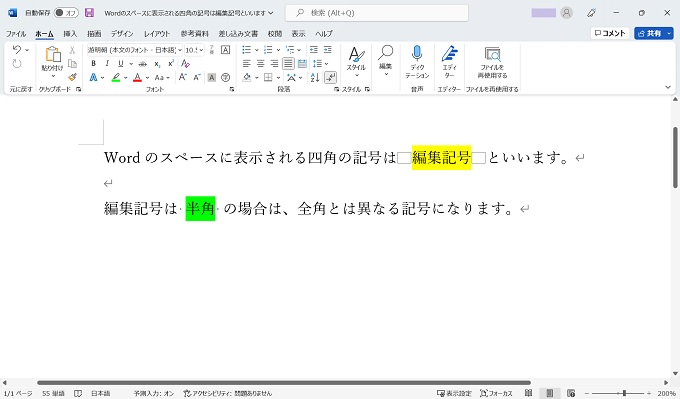
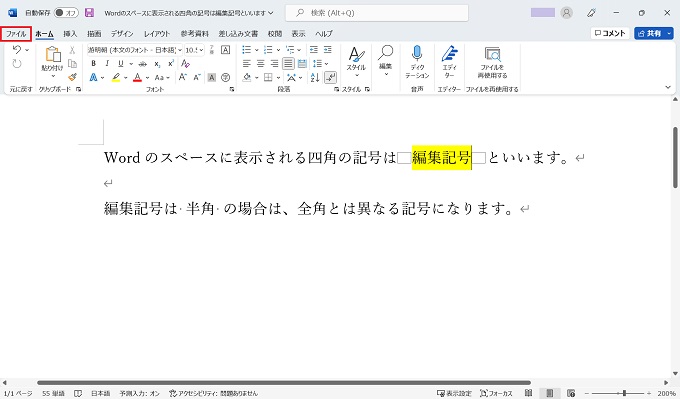
教科書や紙の資料で、強調箇所を蛍光ペンで上塗りするように、Wordにも蛍光ペンの機能があります。
蛍光ペンを使えば、ご自分で重要ポイントを再確認できたり、読み手に強調箇所を視覚的に伝えることができます。
この記事では、蛍光ペンの使い方と蛍光ペンを印刷物に反映させない方法、一括で蛍光ペン箇所を削除する方法を紹介します。
目次
Wordの蛍光ペンの使い方
Wordの蛍光ペンの使い方と、印刷させない方法、そして一括で蛍光ペン箇所を削除する方法を紹介します。
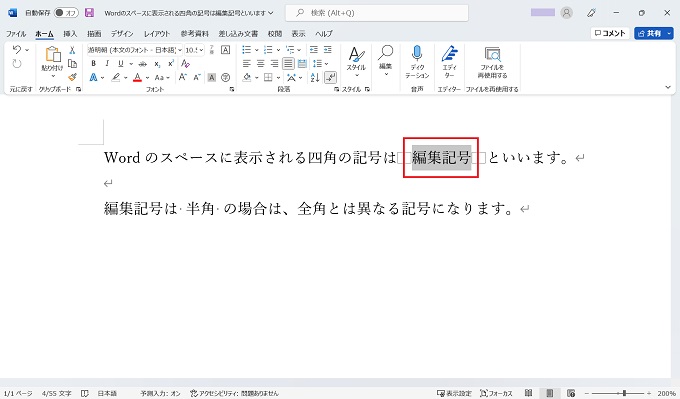
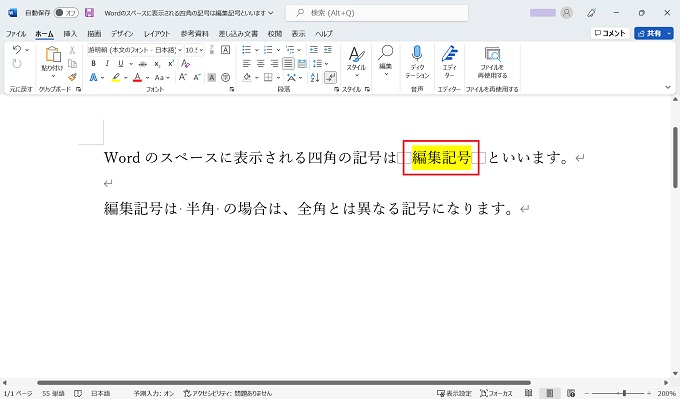
蛍光ペンの使い方
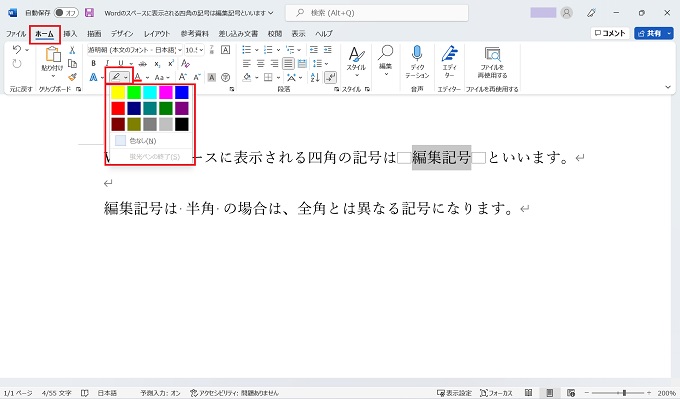
下に表示されるカラーパレットから希望の色をクリック
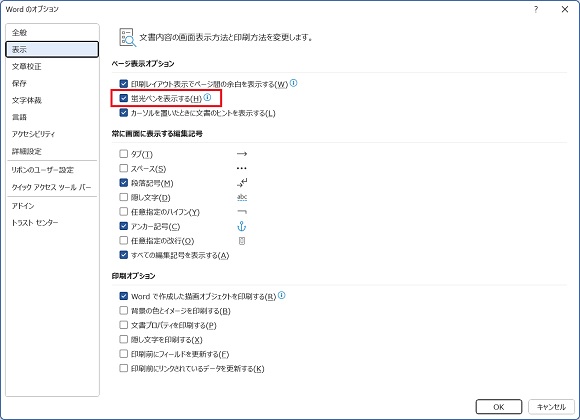
蛍光ペンを印刷させない方法
Wordで蛍光ペンを引いた箇所は印刷物にも反映されます。蛍光ペンを印刷させない方法とは、厳密には一時的に蛍光ペンを非表示にする方法です。

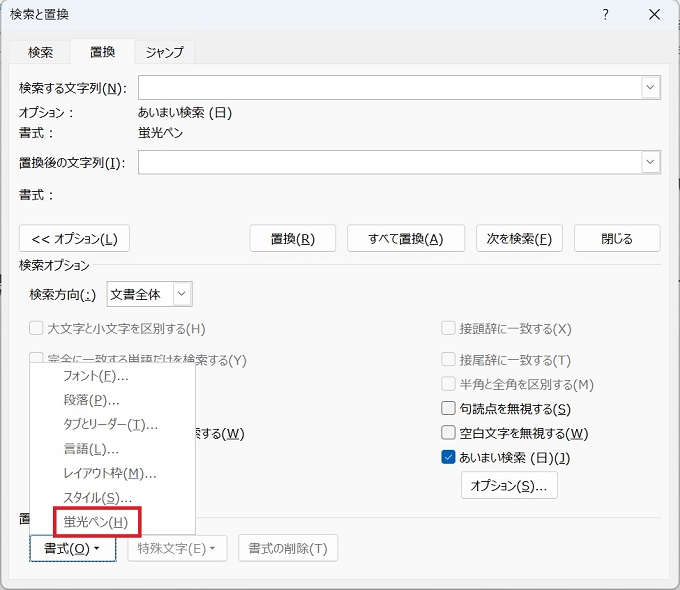
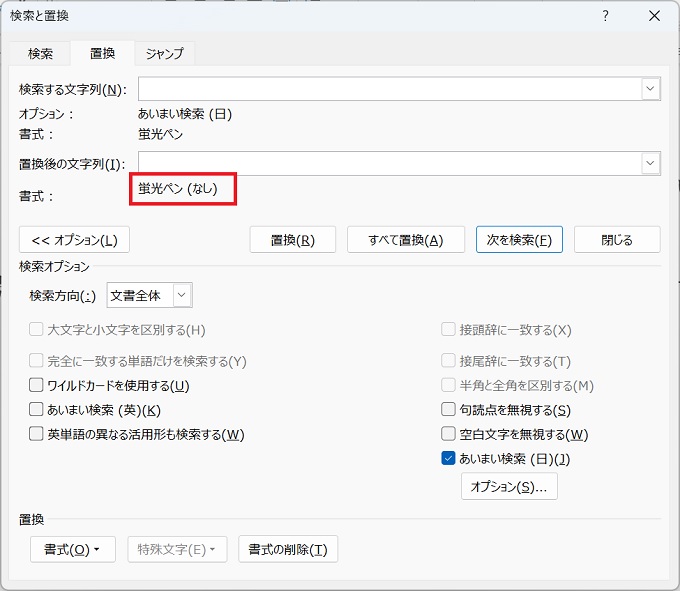
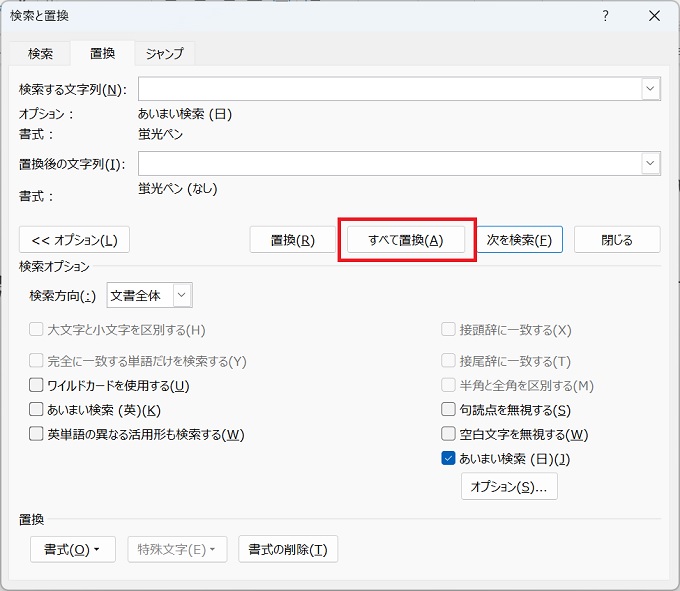
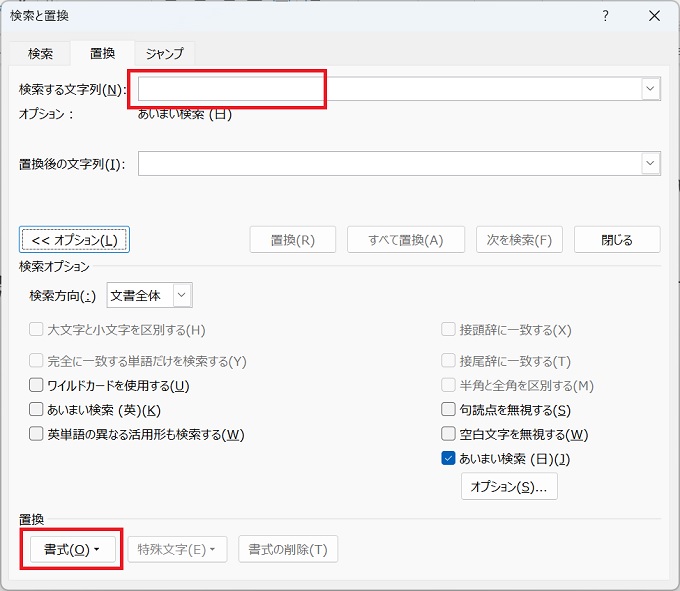
蛍光ペン箇所を一括削除する方法
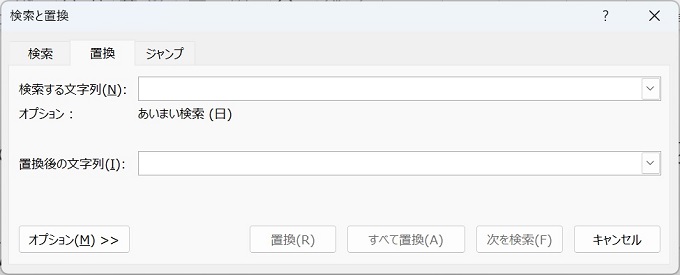
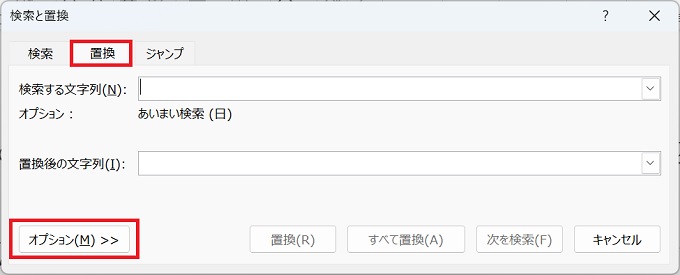
蛍光ペン箇所を一括削除するには、[検索と置換]の機能を使います。キーボードで下記のキーを押下し、[検索と置換]のダイアログを表示させてください。
Ctrlキー + Hキー
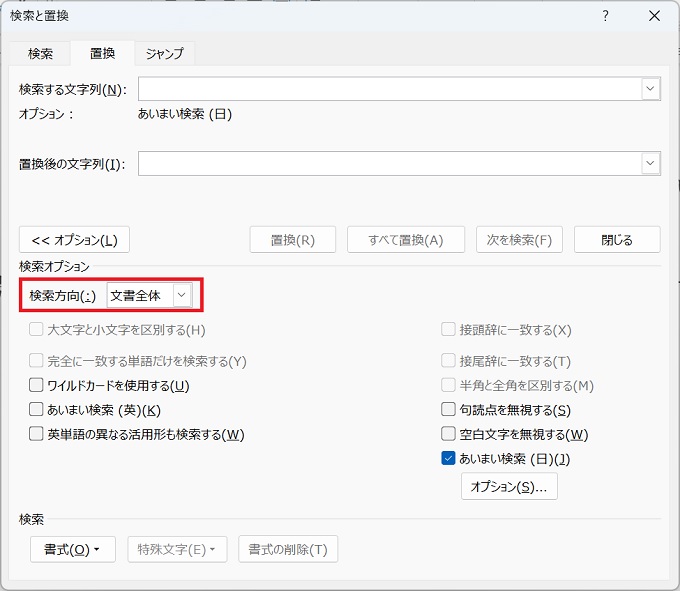
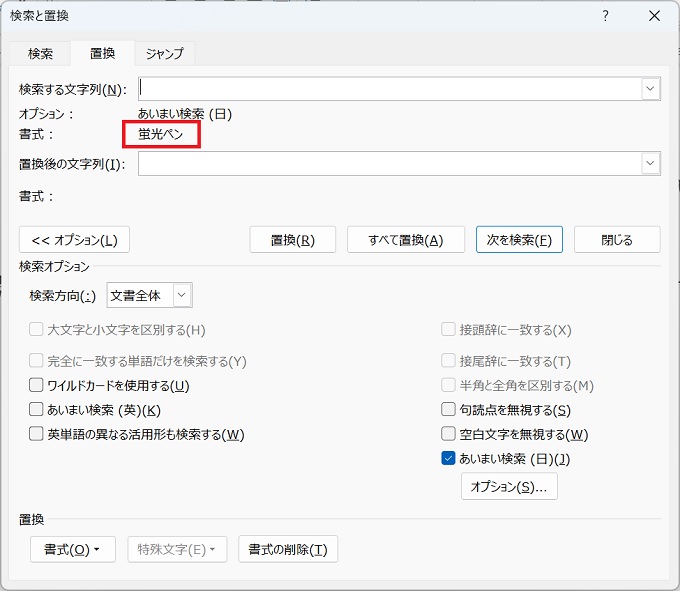
なっていなければ、文書全体に変更
その後、下段の書式ボタンをクリック
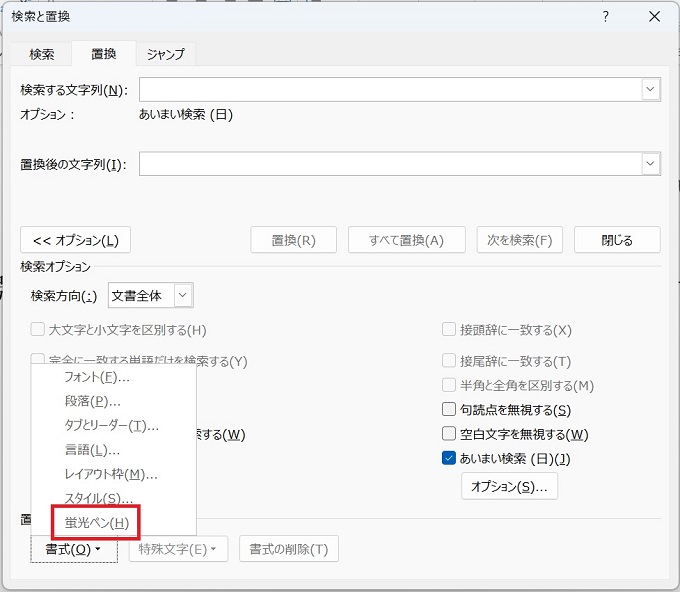
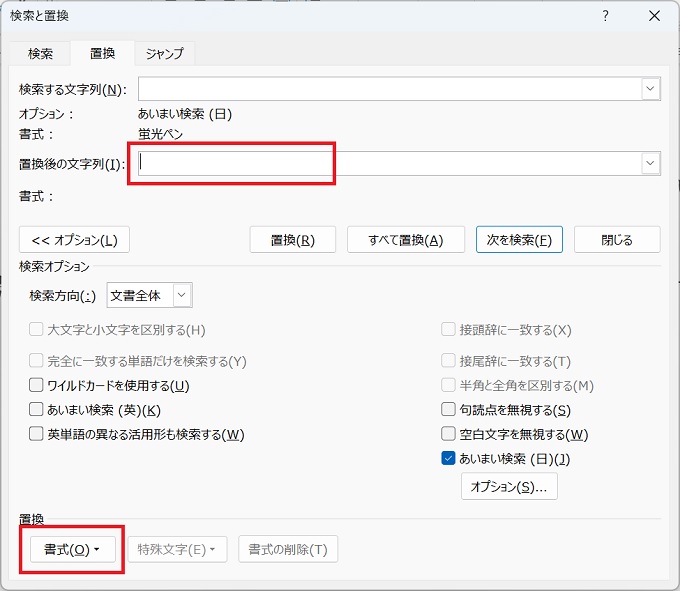
その後、下段の書式ボタンをクリック